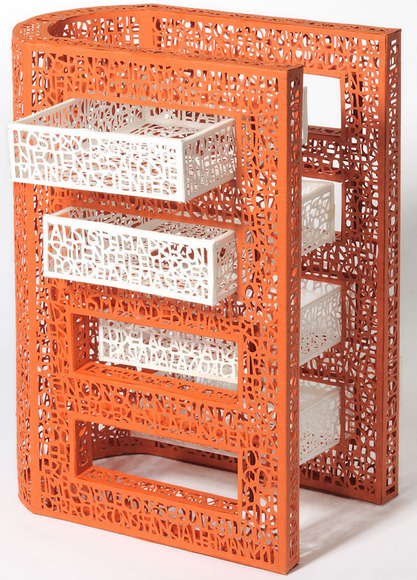
One very late night I decided to recreate one of his art pieces in Revit, and what a nice challenge it was! Not as cut-and-dry as I expected, though. The art piece is called Thesaurus (Here is a direct link):
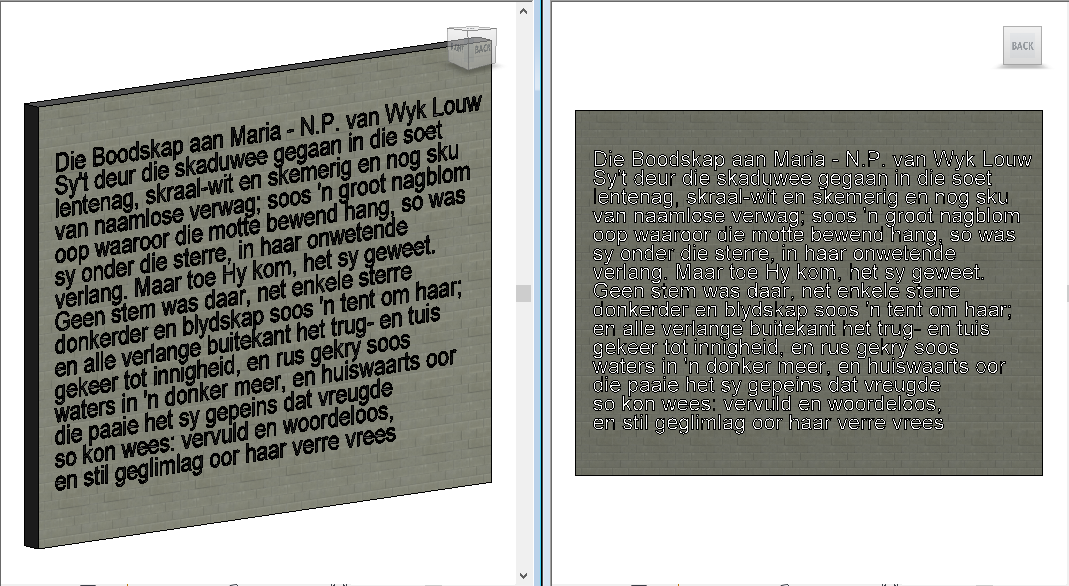
I did a quick test to see how one can modify walls to represent the lettering cut-outs of Pablo's art. I decided to use Model Text for this. The trick was to get the model text in the correct place, with the correct spacing. Another challenge was that the more model text you have, the heavier your drawing. My laptop's performance really suffered with this exercise.

By joining the model text to the wall, and hiding the model text in the view, a cut-out was created. Editing the text took quite a long time though!
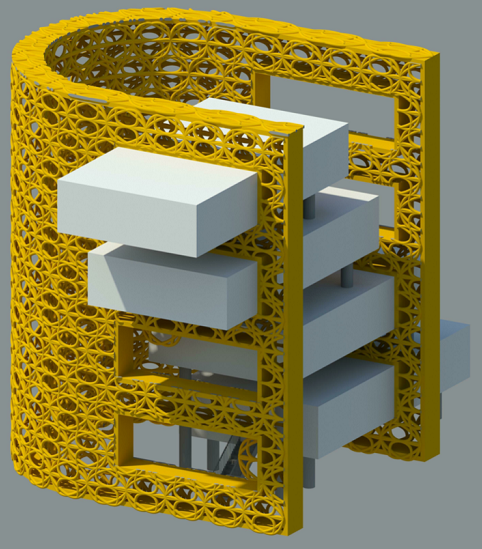
Due to the heavy performance issues, I decided to recreate the art piece as a Revit mass.

I opted to create intricacies similar to the art piece using custom curtain wall panels. The curtain panel pattern-based family is show in the image below.

By dividing the mass surfaces and editing the vertical and horizontal panel numbers, I received an acceptable result (Some of the curtain panels did morph along the edges of the model, but it was fixed by hiding those selected panels.

Adding walls by face to the mass in a project, neatening up a few elements etc. it was time to render the view
All in all, I really enjoyed recreating this art piece in Revit. And hey, in turn I learnt something new about Model Text functionality too. I am counting this one as a win!
No comments:
Post a Comment