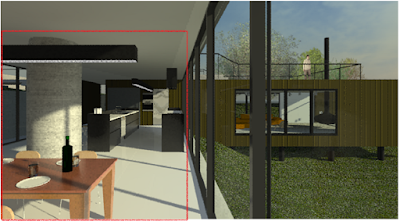
The image below is of the kitchen area, in a Realistic Visual Style
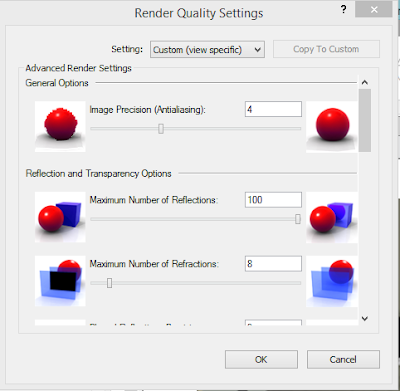
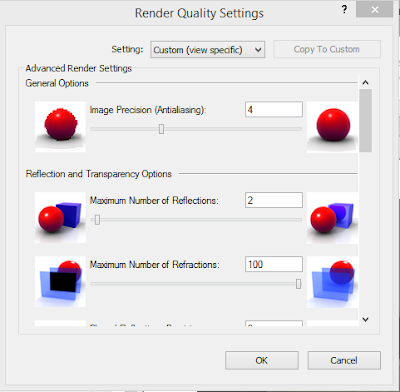
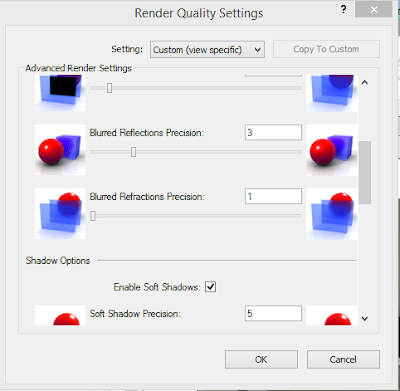
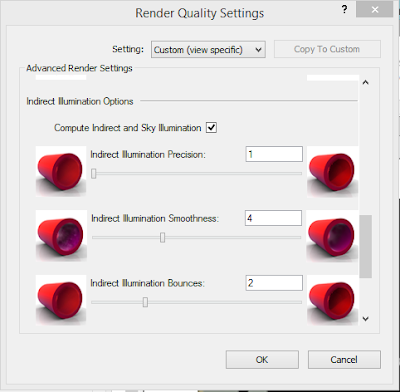
Advanced Render settings can be accessed within the Render command, by editing the Quality Settings. In the Render Quality Settings one can now tweak specific settings before the render is run. The Quality Settings will be based on a Medium render quality.
We will use the image below as a control reference for any tweaks we make to the render quality settings. We will go through each quality setting, and test what the effects would be for the minimum, as well as maximum setting on our rendered scene. Red lines will indicate the before and after quality on areas where the most effects can be seen. A rendered time will also be provided for each image.
The control image was rendered using the Medium Quality setting
1.1 Control Image - MEDIUM QUALITY (DEFAULT QUALITY ) - 0m58s

2.1 Image Precision (Anti Aliasing) - LOWEST - 02m37s

2.2 Image Precision (Anti Aliasing) - HIGHEST - 26m58s
4.2 Refractions - HIGHEST - 0m59s
5.1 Blurred Reflection Precision - LOWEST - 0m56s
6.1 Blurred Refraction Precision - LOWEST - 0m59s
6.2 Blurred Refraction Precision - HIGHEST - 1m01s
7.1 Soft Shadows - LOWEST - 0m53s
8.1 Indirect & Sky Illumination - DISABLED - 0m36s
10.1 Indirect Illumination Smoothness - LOWEST - 0m47s
11.1 Indirect Illumination Bounces - LOWEST - 0m51s
11.2 Indirect Illumination Bounces - HIGHEST - 1m01s
12.1 Daylight Portals (Windows) - 1m56s
12.3 Daylight Portals (Curtain Walls) - 5m48s
13. BEST QUALITY - MOST ADVANCED SETTINGS - 12m47s










No comments:
Post a Comment