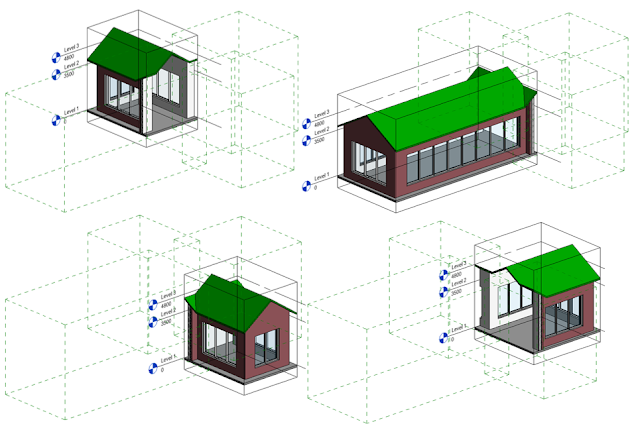
Something I do love about new releases of Revit, and even with new Service Pack updates, is that we often find new features which are not part of the official new features lists. Similar to the previous Revit Recess post: Revit 2019 Colorfill Legend Visual Style, we have another exciting new feature which allows us to crop a 3D view with a scope box.
Let's start this entry by looking at the various ways in which we can manipulate the extents of a 3D view:
Method 1: View Crop Region - Pretty much self-explanatory
Method 2: Section Box - A manual method of isolating a specific area of your model, manipulating the section box extents by pushing and pulling the section box sides. The biggest drawback to this method is that the size and position of the section box is not saved. In other words, if you meticulously position and size your section box, turn it off and turn it on again, the section box extents will be around your entire project.
Method 3: Selection Box - My go-to method for automatically sectioning a 3D view according to selected objects. A "Bread-and-Butter" command along with Trim and Align.
Method 4: Scope Box - Revit 2019 now allows us to apply a scope box to a 3D view. This is game changer, especially when working on very large and complex projects, where a lot of time has been spent setting up specific positions for scope boxes on plan views. Very nice feature.
Have a great weekend, folks! For the South African readers of Revit Recess, enjoy Heritage Day on Monday!


No comments:
Post a Comment