Self-sizing, or Auto-sizing diffusers are a very valuable item in a MEP engineer's Revit arsenal. Why do you constantly need to refer to the air terminal catalogues for sizing purposes, when you can build the specifications into a Revit family?
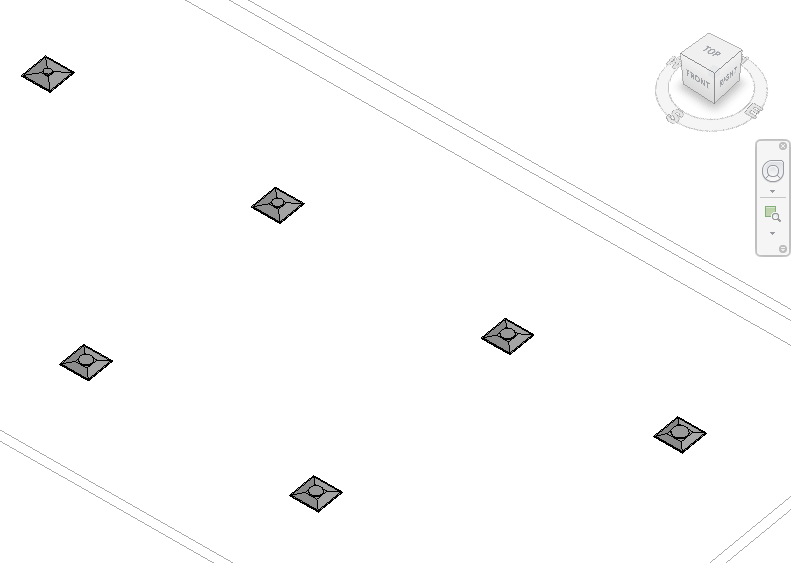
This blog entry will focus on how to create a self-sizing /
auto-sizing diffuser, which will also adjust the throw radius as the airflow and pressure drop increases or decreases. This diffuser example will use the Rickard CCD3 Performance Data. Supply air diffusers have been
placed according to a thumb-suck 2.5m
radius throw.

To control the neck size, according to the flow
parameters, I have added the following formula to the driving instance
parameter: Duct Radius: if(Flow < 117 L/s, 150 mm, if(Flow < 184 L/s, 200
mm, (if(Flow < 261 L/s, 250 mm, if(Flow < 332 L/s, 300 mm, if(Flow <
461 L/s, 350 mm, 350 mm))))))


To control the diffuser throw radius, I have added the
following formula: if(Flow < 117 L/s, 1750 mm, if(Flow < 184 L/s, 1950
mm, if(Flow < 261 L/s, 2100 mm, if(Flow < 332 L/s, 2300 mm, if(Flow <
461 L/s, 2500 mm, 2500 mm)))))

Thus, whatever the flow would be per diffuser, the neck size
would automatically adjust accordingly, as well as the throw radius.
Easy, isn't it?

No comments:
Post a Comment